Today I am going to show you how to create a Google-like scheduler with your Rails application. Here we are going to use dhtmlxScheduler. It is a Javascript event calendar. Intuitive drag-and-drop interface allows the end users to quickly manage events and appointments in different views: Day, Week, Month, Year, Agenda, Timeline, etc.
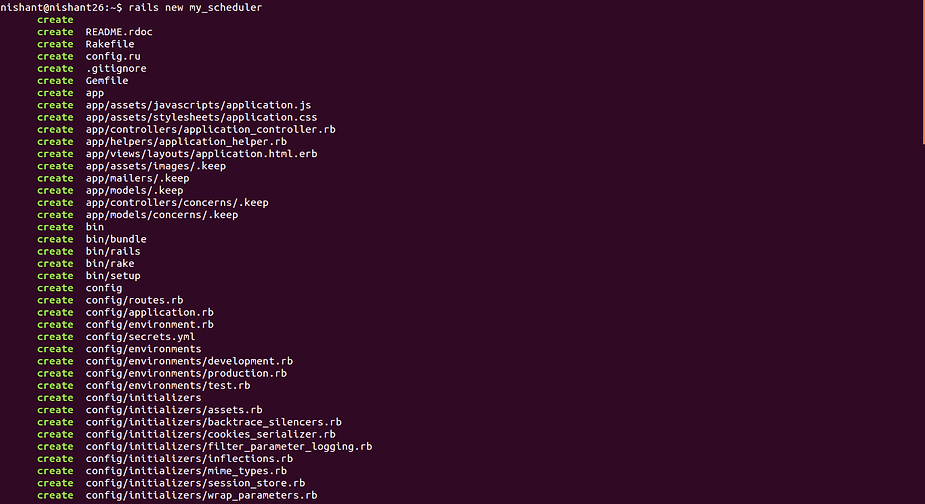
Step- 1: Let’s first create a new Rails application for our scheduler
$ rails new my_scheduler

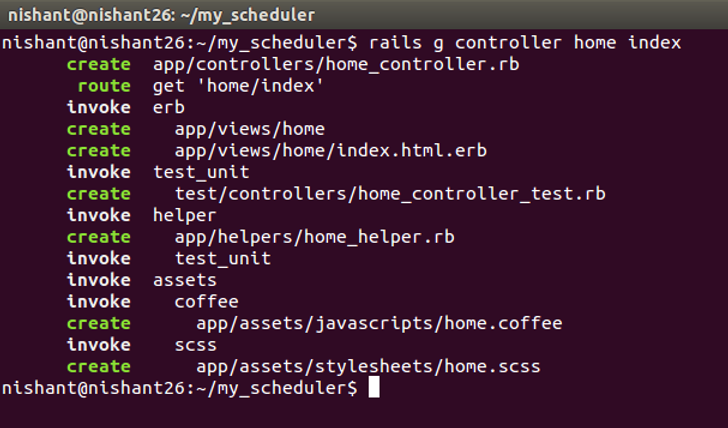
Step- 2: Create a ‘Home’ controller
$ rails g controller home index

Step – 3 open config/routes.rb and replace as following
get ‘home/index’
with
root ‘home#index’
Step – 4 Start Rails server now and test it in your browser with http://localhost:3000
$ rails s

Step- 5 Now download the dhtmlxScheduler. Download open source from standard edition box. Now unzip the file
Add following files to vendor/assets/javascripts codebase/dhtmlxscheduler.js codebase/ext codebase/locale
and following files to vendor/assets/stylesheets
codebase/dhtmlxscheduler.css codebase/dhtmlxscheduler_classic.css codebase/dhtmlxscheduler_flat.css codebase/dhtmlxscheduler_glossy.css
Then we need to create an assets folder in the public directory and copy following files there.
codebase/imgs codebase/imgs_dhx_terrace codebase/imgs_flat codebase/imgs_glossy
Now open config/initializers/assets.rb and add our newly added css and js to asset precompile settings:
Rails.application.config.assets.precompile += %w( dhtmlxscheduler.css )
Rails.application.config.assets.precompile += %w( dhtmlxscheduler.js )
Step – 6: Open views/layouts/application.html.erb and include include dhtmlxscheduler.js and dhtmlxscheduler.css
<%= stylesheet_link_tag ‘dhtmlxscheduler’, media: ‘all’, ‘data-turbolinks-track’ => true %>
<%= javascript_include_tag ‘dhtmlxscheduler’, ‘data-turbolinks-track’ => true %>
Step- 7: Now open your newly created home/index.html.erb.It will display our scheduler.
Now we add a container for our scheduler and initialize our event calendar
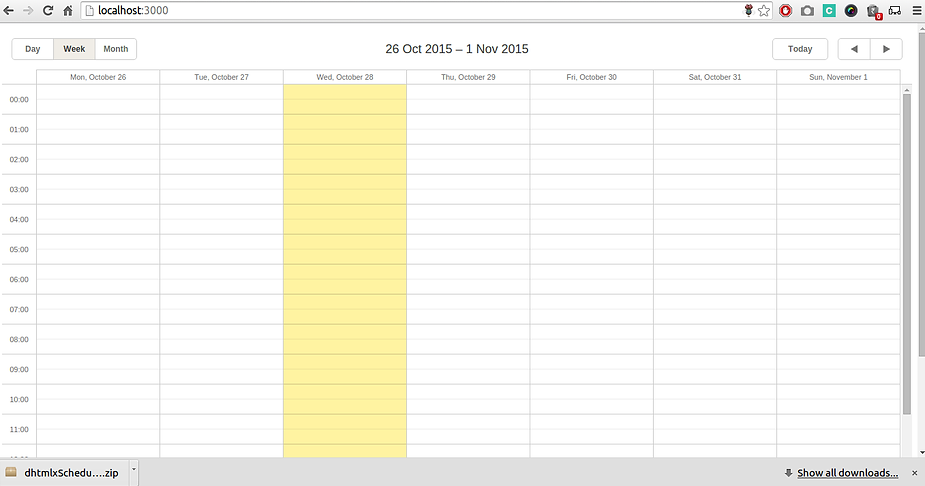
Step- 8: Restart your server and check your browser at http://localhost:3000

Step- 9: So dhtmlxSheduler is initialized and we may proceed to further settings. Let’s create a model for an event. Run the following command
$ rails g model Event start_date:datetime end_date:datetime text:string
Run database migration
$ rake db:migrate
Step- 10: Now open config/routes.rb and add another route for data loading
get “home/data”, to: “home#data”, as: :data
step : 11:
Open controllers/home_controller.rb and add ‘data’ action to it.
step -12 Add another route to perform antoher db relate action
get “home/db_action”, to: “home#db_action”, as: :db_action
Step – 13- To save the changes in scheduler we need to use DataProcessor. Open app/views/home/index.html.erb.
var dp = new dataProcessor(“<%= db_action_path %>”);
dp.init(scheduler);
dp.setTransactionMode(“GET”, false);
If you want to use a post request for changing the data in your database, then you need to specify Transaction Mode dataProcessor = POST. Moreover, you need to change the corresponding route to:
post “home/db_action”, to: “home#db_action”, as: :db_action
And you need to add following line in your controllers/application_controller.rb
protect_from_forgery with: :null_session
instead of
protect_from_forgery with: :exception
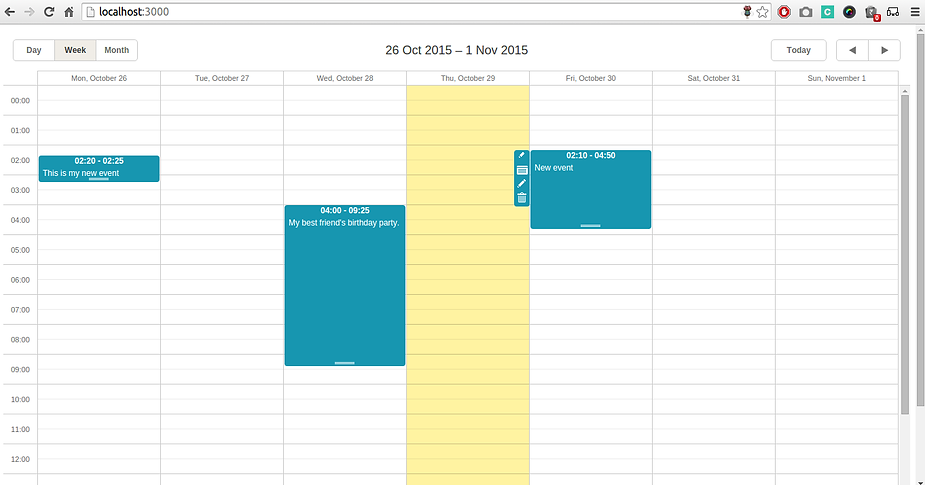
Step- 15: Finally we are ready to see the result: run your server
$ rails s

The whole source code is available at my git repository.
All set! Now, go to your browser and start scheduling your day!!
Have a happy coding!!


